· Engineering Projects · 2 min read
LED Snowflake
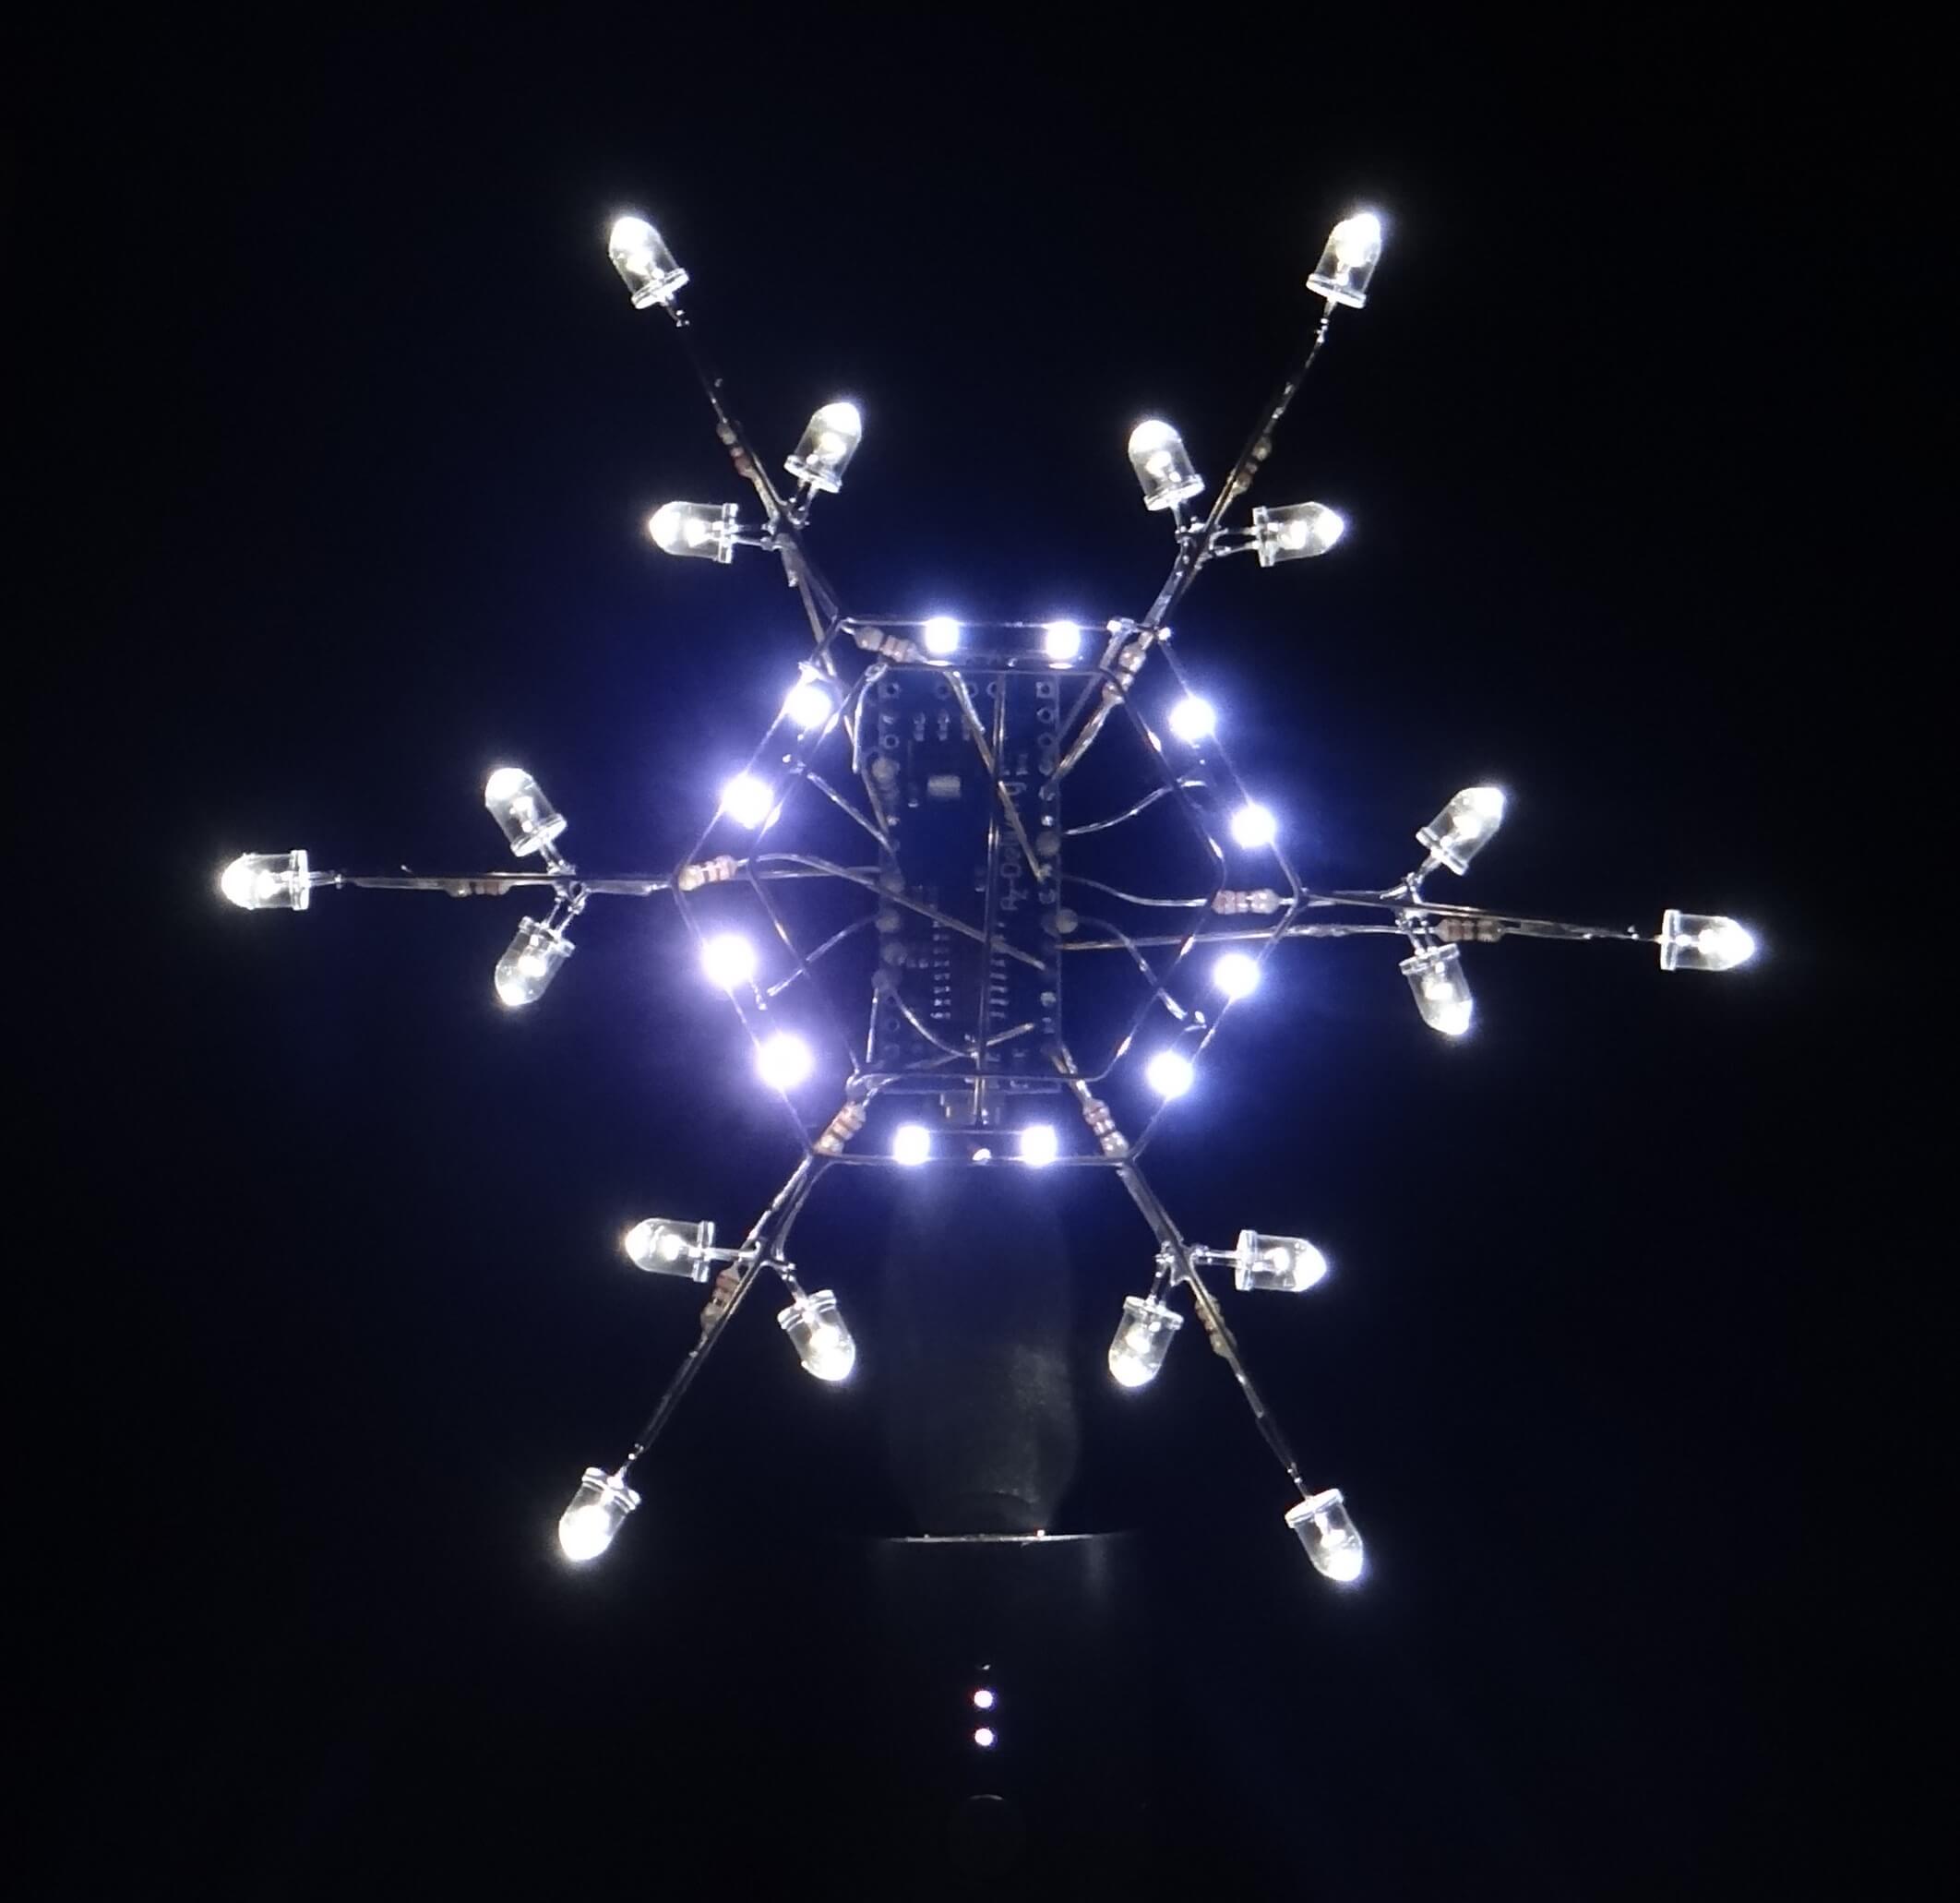
This year I combined several family traditions by making a festive snowflake decoration to give as Christmas present. I’d spotted this excellent Instructable (by jiripraus) earlier in the year, and thought I’d give it a go myself.
I followed the design of the original project quite closely, using the schematic and photos given. My snowflake is slightly larger, and I decided to power it with a USB power bank, which also doubles as a stand.
To create the core hexagonal shape, I printed some concentric hexagons to use as a template, which I mounted on some spare photoboard. Having determined the rough size and placement I wanted, I finished the template with hand-drawn annotations. Then, it was just a matter of carefully bending the brass rod to the required shape.
To help with soldering, I covered the template with double-sided tape, which held the wire and components in place. Heat quickly made the tape lose its stickiness, and I was always having to combat the natural spring in the wire. Patience, steady hands, and tweezers are essential! I also had to replace quite a few of the SMD LEDs, which fried very quickly if too much heat was applied.
I made the whole snowflake structure first, with all the LEDs and resistors attached, before soldering all the connections to the Arduino. I started with all the ground connections, which aligned the snowflake and provided a degree of rigidity, before continuing to the GPIO pins. Despite the awkward access, this was probably the easiest soldering in the whole project.
I tweaked the provided sketch to use my preferred animations, which are cycled through when the capacitive ring sensor is touched. There’s a small bug which means the switch flow doesn’t always cycle, but I ran out of time before Christmas Day to find and fix it. That will have to wait until next year!
Overall, I’m very pleased with how the snowflake turned out, and the gift was very well received.